

What's JavaFX?
JavaFX is a software platform that is used for developing desktop applications that operate seamlessly across a wide variety of devices.
JavaFX support in IntelliJ IDEA includes code completion, search, navigation and refactoring in JavaFX-specific source files (including .fxml and JavaFX .css files).
In this article, I'll be taking you through how to create a simple JavaFX project.
NB: If you are using a Java version of 10 or lower, the JavaFX SDK has been pre-installed on your computer.
So, you can go ahead and create a new Java project on Intellij IDEA.
For later versions of Java, you can download the JavaFX SDK here. Make sure to download the SDK that corresponds to your operating system.
Then, unzip and extract the file to a simple location on your computer, such that it would be easy to search for it.
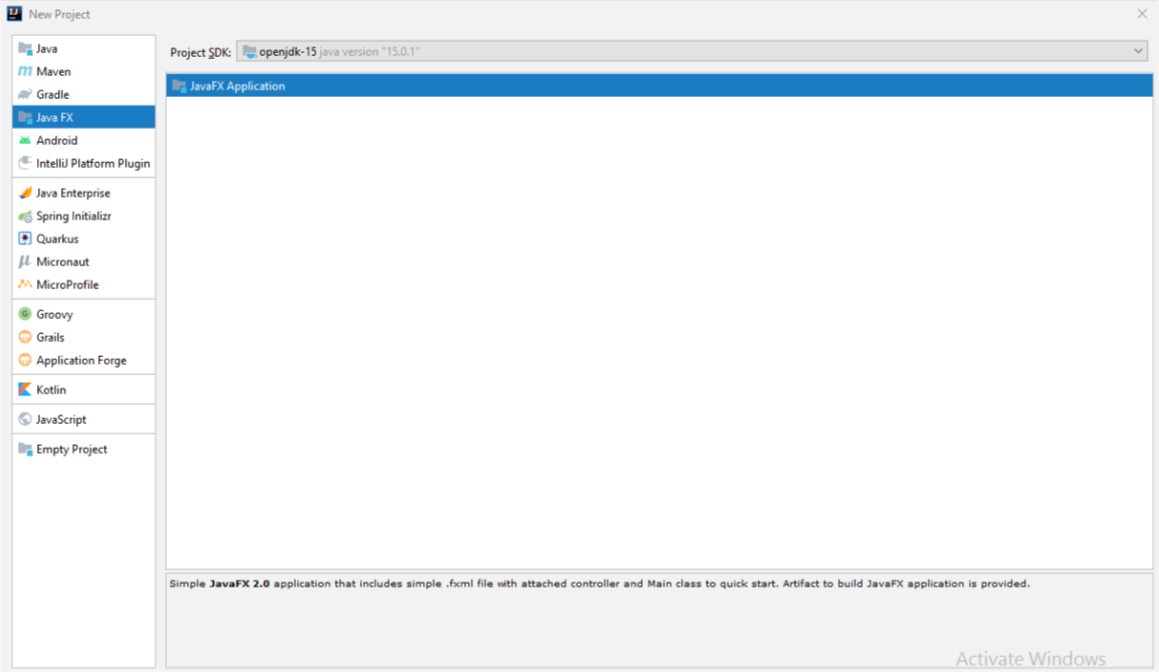
Creating a New Project
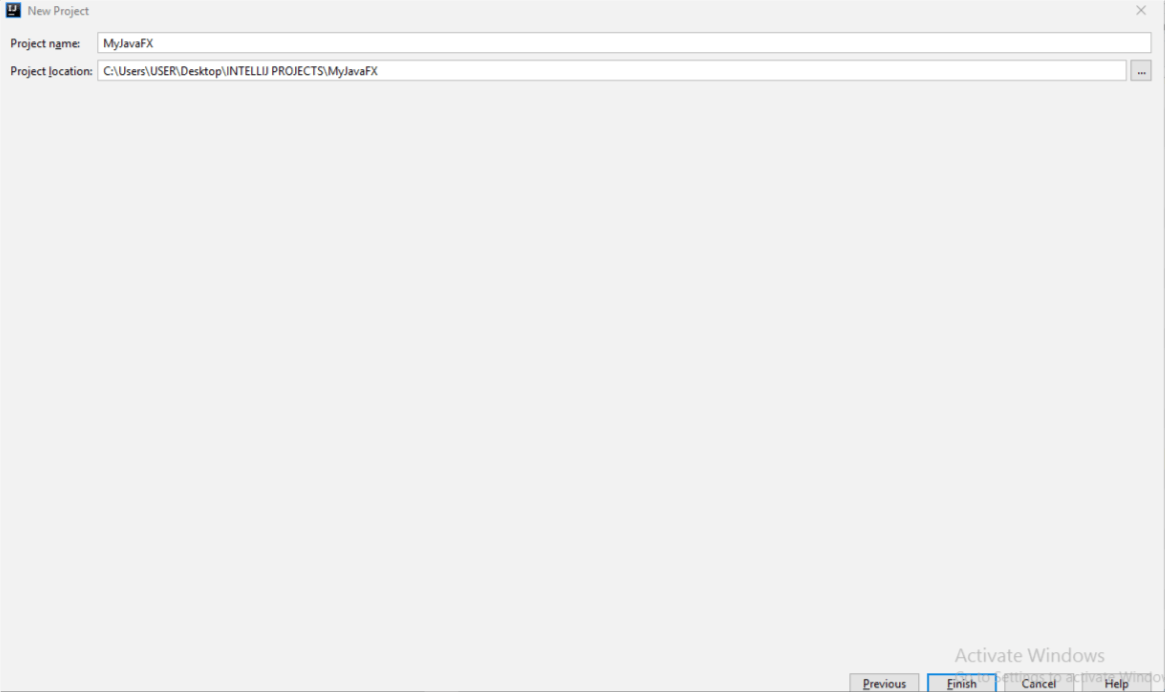
Launch the Intellij IDEA and create a JavaFX project.
I'll name mine MyJavaFX.
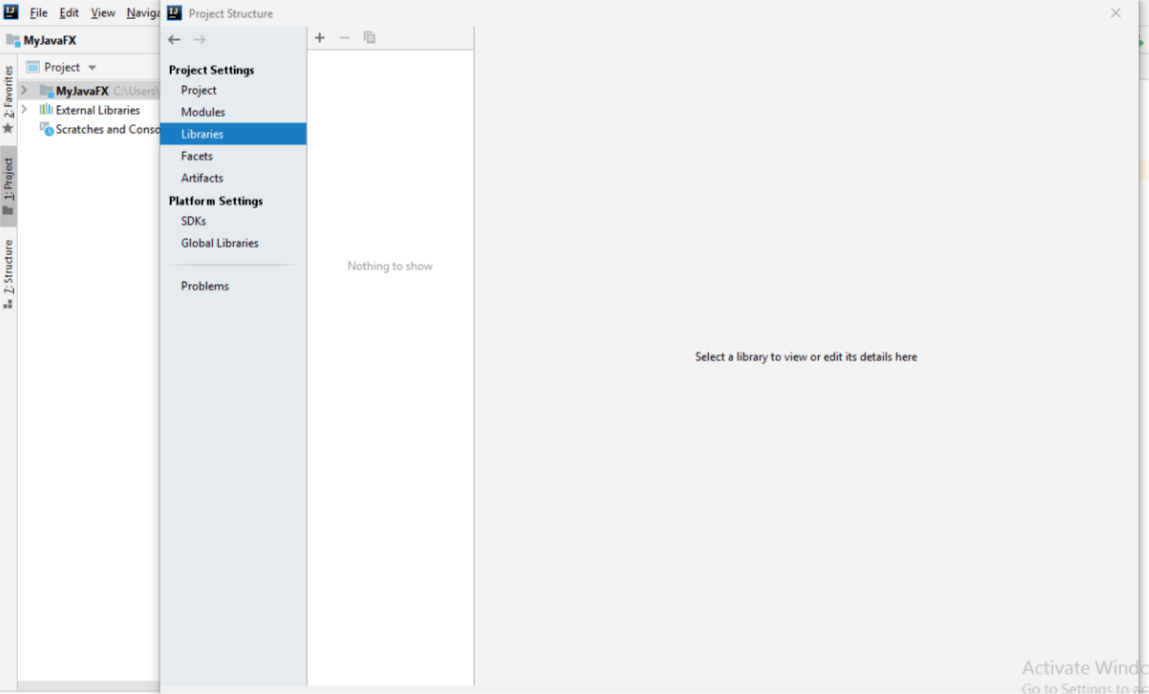
Adding the JavaFX Library
This is only necessary if you are using Java 11 and later versions.
To do this:
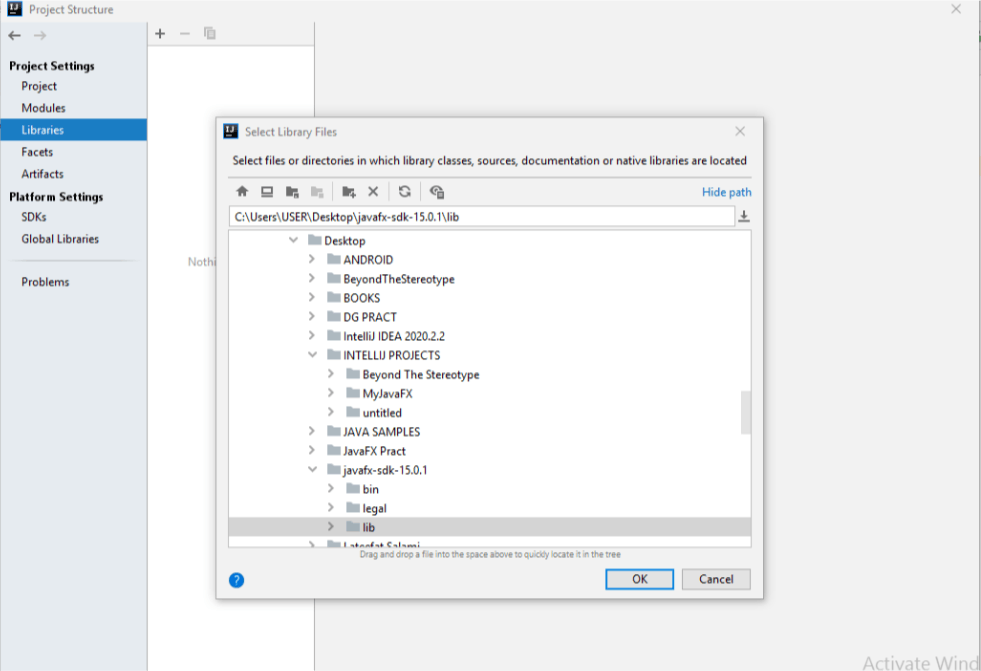
Go to File > Project Structure.
Click on Libraries and then click on the + symbol and select Java.
Specify the path to the lib folder in the JavaFX SDK package as it is on your computer.
Also, in the Modules section of the Project Structure, select the required module. Click Apply, then OK.
Adding the VM Options
The Java Virtual Machine (JVM) is what the Intellij IDEA runs on.
To include the VM Options:
Go to Run > Edit Configurations.
Select Application > Main from the list.
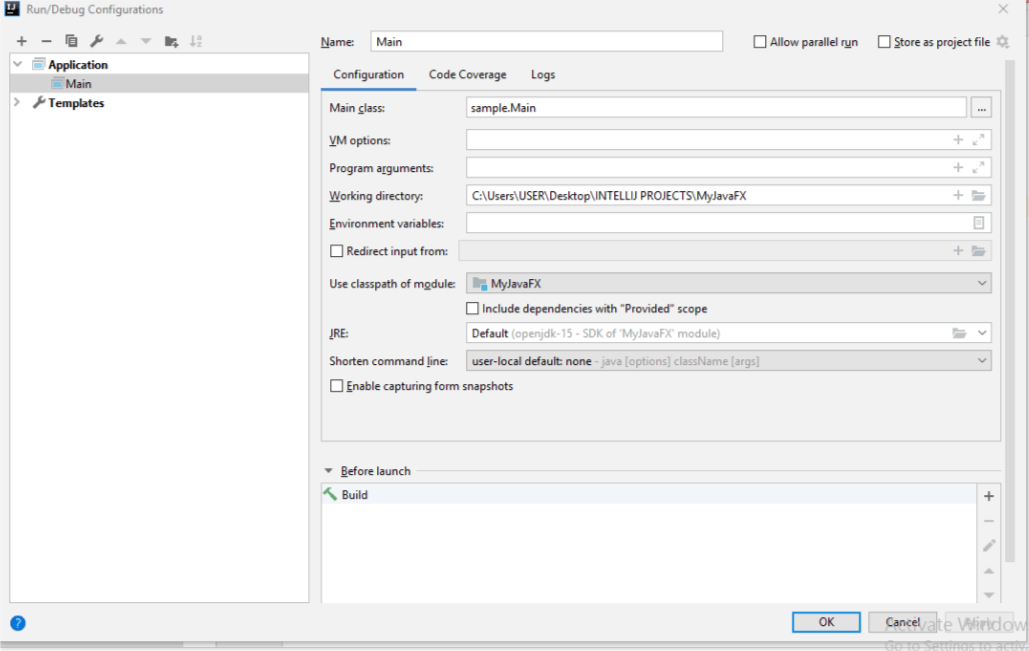
From the More options list, select Add VM options.
In the VM options field, specify the following options, but make sure to replace /path/to/javafx/sdk with the path the lib directory where you downloaded your JavaFX SDK.
--module-path /path/to/javafx/sdk --add-modules javafx.controls,javafx.
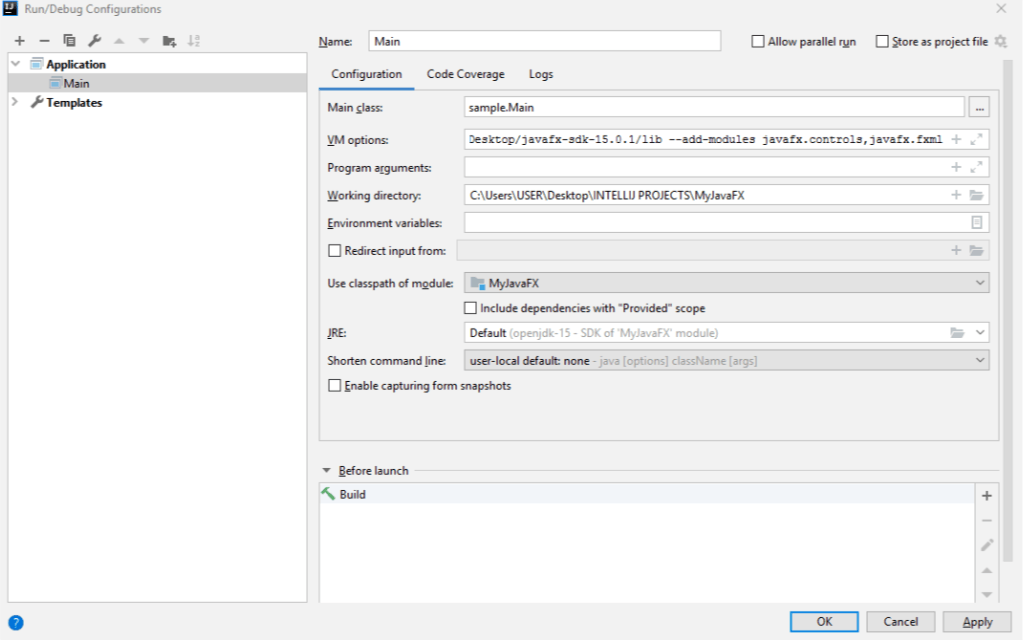
Then, apply the change and click OK.
Run the Program
Now, you can run the application.
- Go to Run > Run Main or Click on the green triangle "Run" button on the Toolbar.
After compiling, the JavaFX application window would popup. It's blank because the default code is only to set a scene.
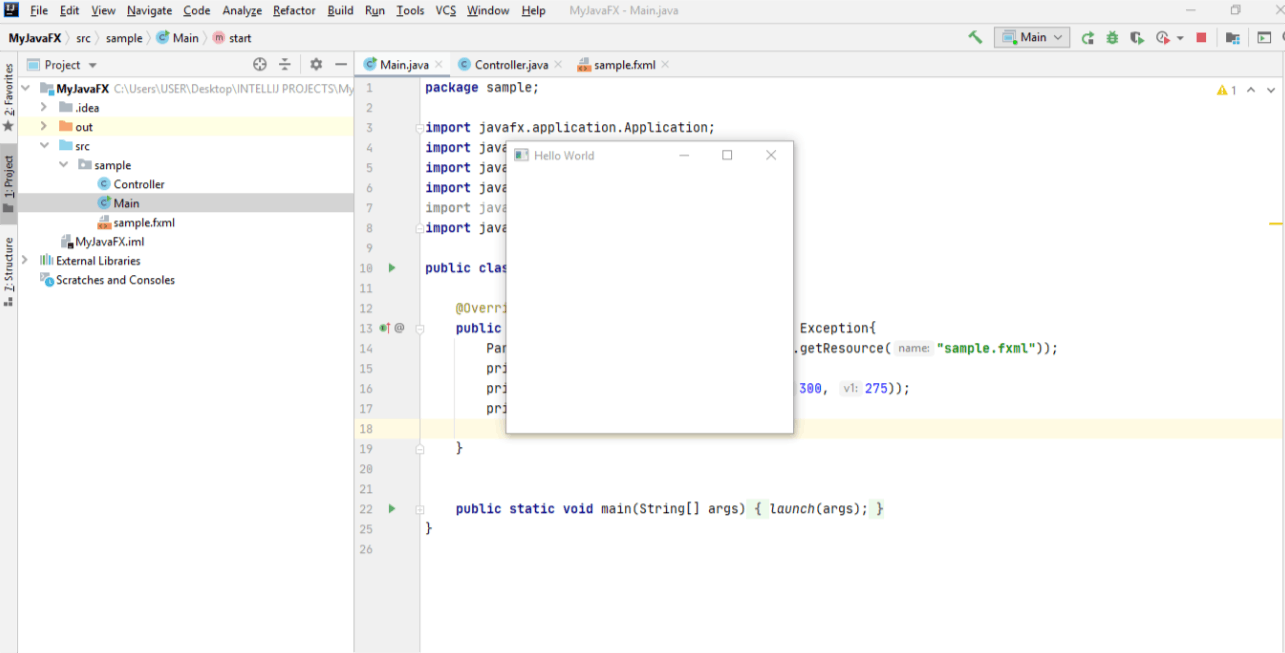
And voila! You have created your first JavaFX application.